Edit a Printer
Edit reuses the Add Printer dialog's Manual Entry layout. The tab strip is hidden, the title changes to Edit Printer, and the IP Address field becomes read-only so you can't accidentally re-point a saved printer at a different address (use Reconnect for that).
Step 1. Open the printer's Edit dialog
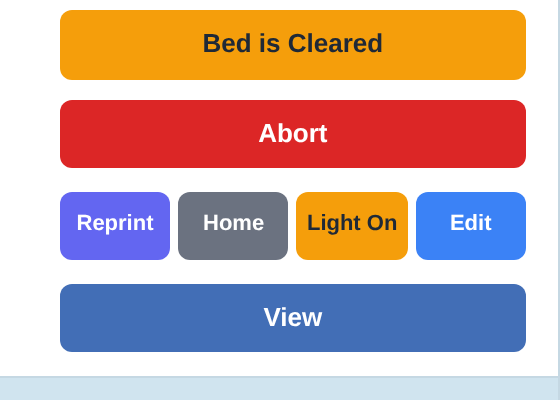
Edit Button
On the dashboard, find the printer row and click Edit in the Actions column. The Edit Printer dialog opens.
Step 2. Adjust the fields
Edit Fields
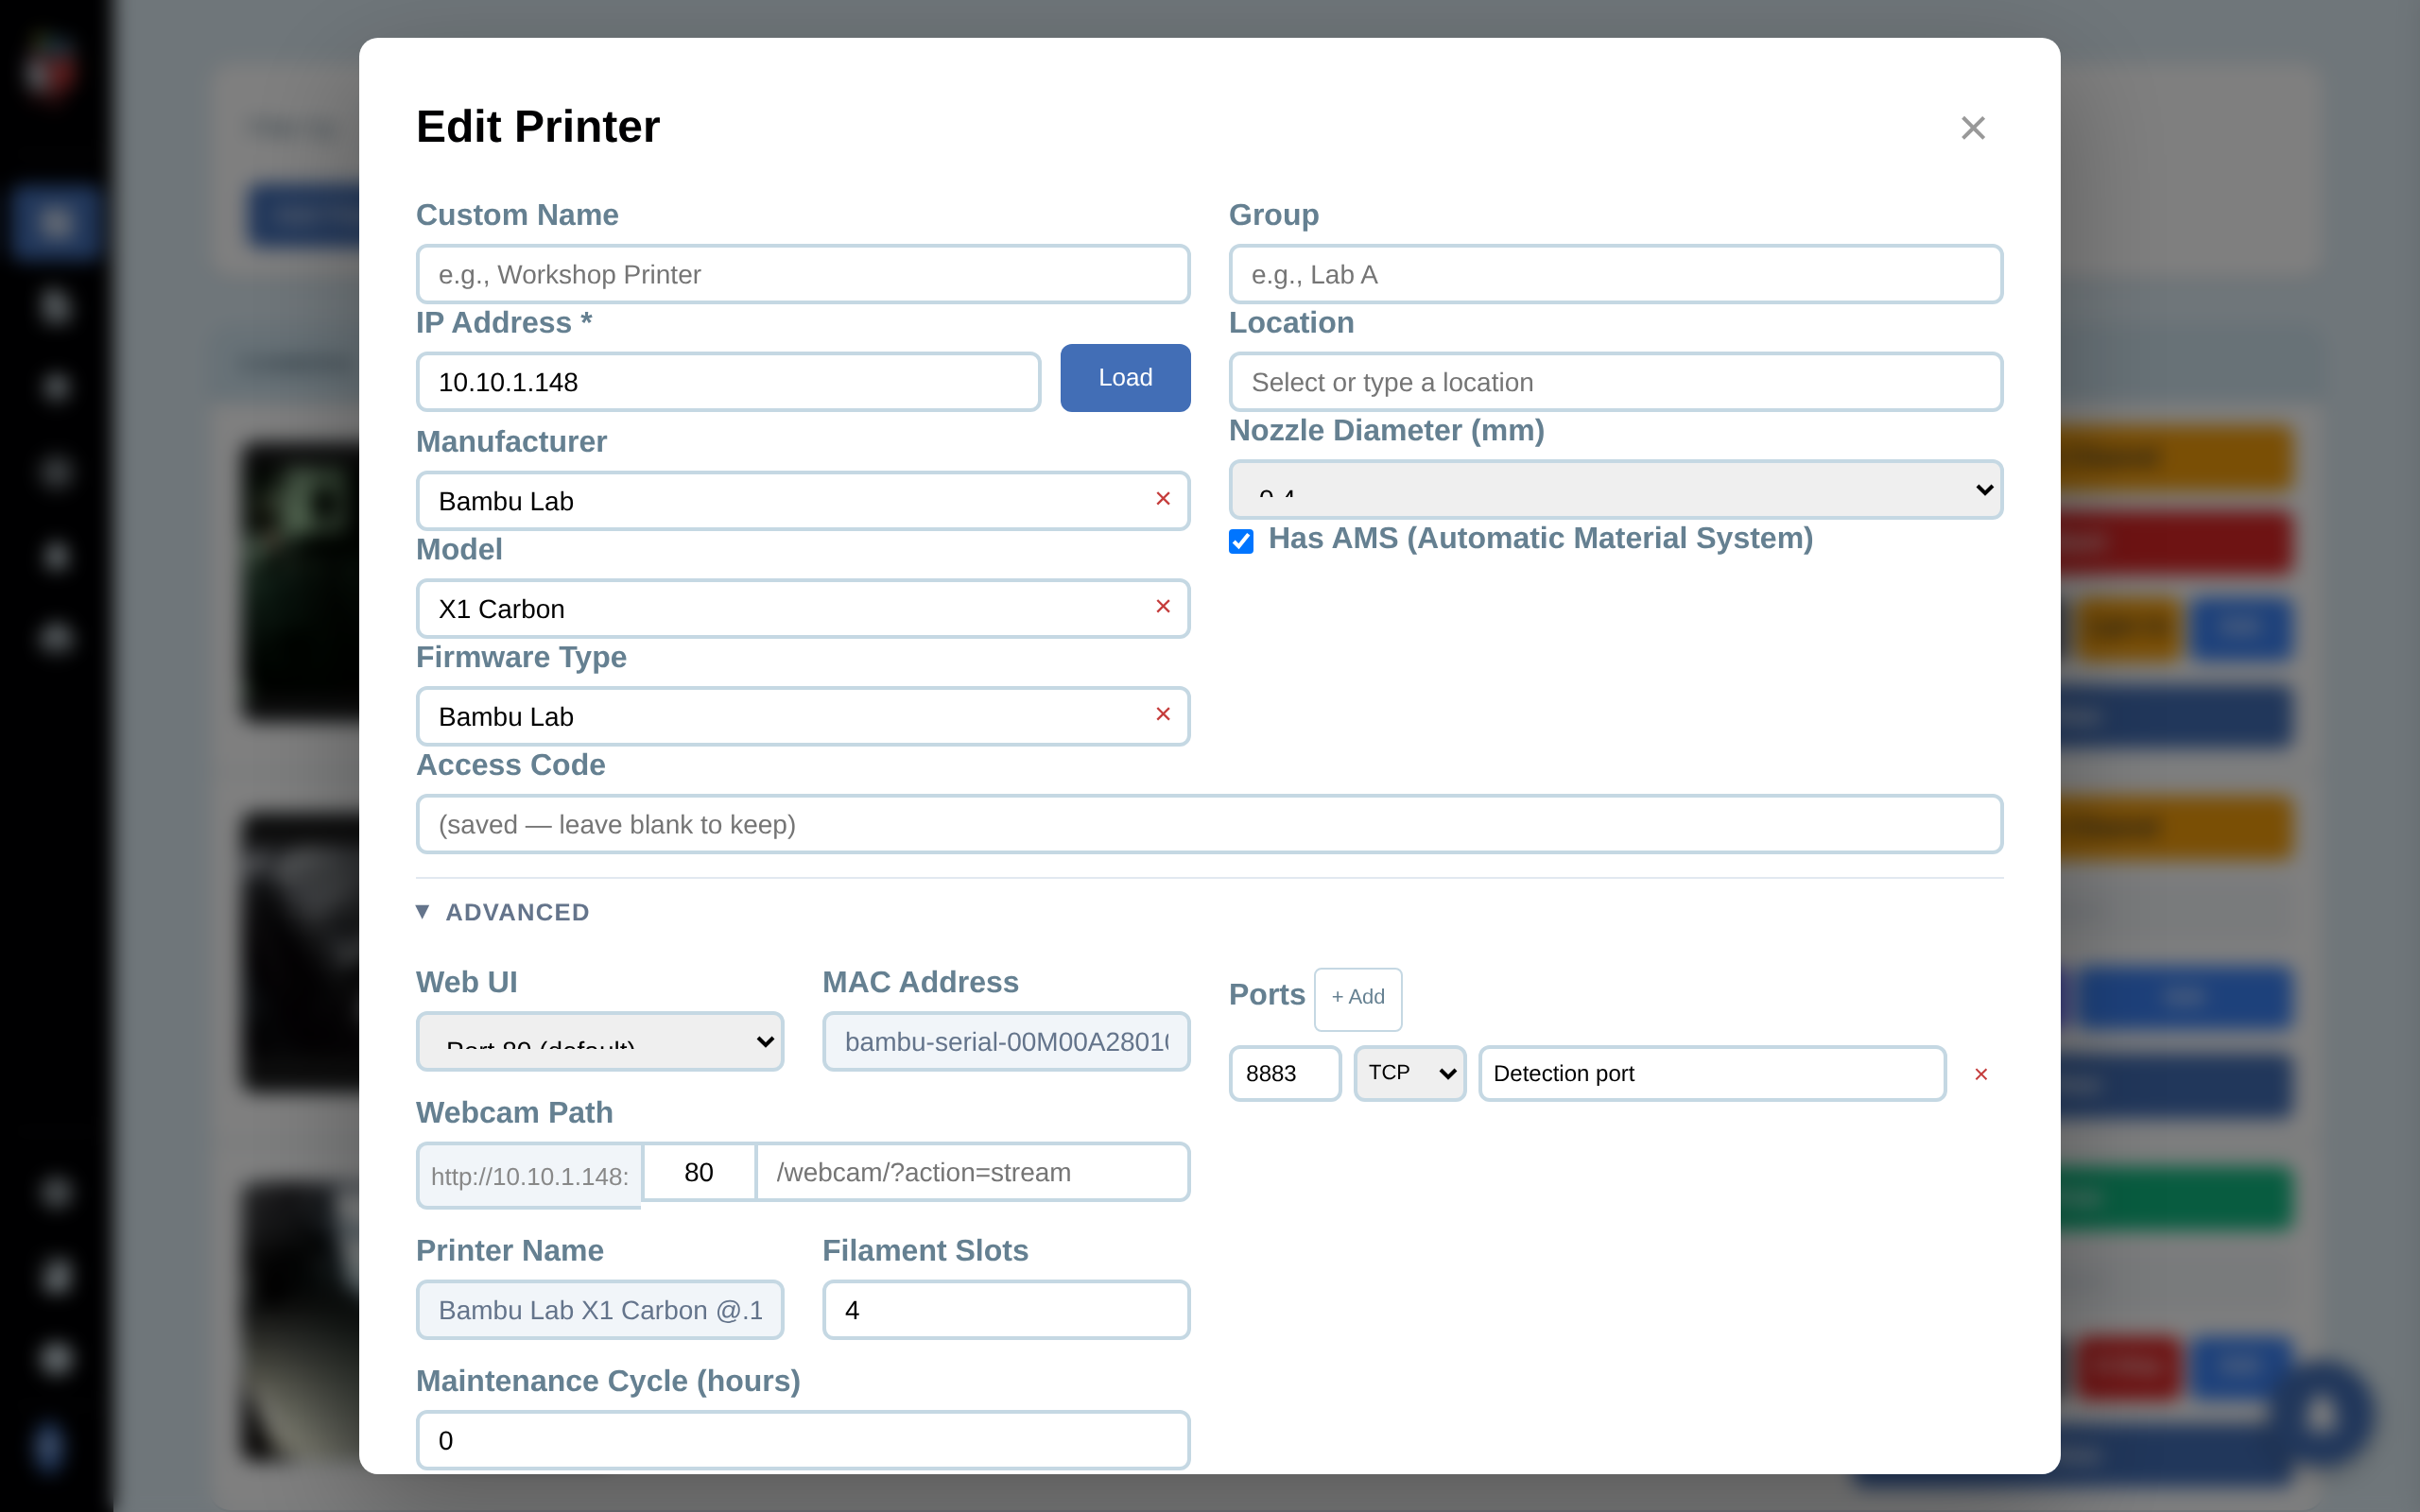
The dialog shows the current values for every field. Edit what you want to change; leave the rest alone.
- Custom Name, Manufacturer, Model, Firmware Type, Group, Location, Nozzle Diameter, Has AMS. Edit as needed.
- IP Address. Read-only here. The IP is the printer's identity inside PrinterMon. If the printer's IP changed, click Reconnect on the dashboard row to re-find it.
- Access Code / Password / API Key. Masked. The placeholder shows "(saved — leave blank to keep)" when a value is stored. Leave blank to keep the existing credential, or paste a new value to replace it.
- Camera IP. Only appears for PrusaLink printers with a separate camera device. Edit if the camera moved.
Expand Advanced for Web UI port, MAC Address (auto-detected, read-only), Webcam Path, Filament Slots, Maintenance Cycle hours, and the Ports table. The same fields as Add Printer.
The Manage Filament button appears next to Add. It opens the per-printer filament panel without forcing you to save first.
Step 3. Save
Click Save Changes. The dialog closes and the dashboard row refreshes with the new values. If you only changed a display field (name, group, location), the change is immediate. If you changed an IP-related field, the next poll picks up the new state.
Edit vs. Reconnect vs. Delete
- Edit. Update metadata, credentials, ports, webcam — without re-discovering the printer.
- Reconnect (button on the printer row). Rescan the network for this printer. Use when the printer's IP changed or PrinterMon shows it as offline.
- Delete. Remove the printer from PrinterMon. See Delete a Printer.