Settings: Remote Access
Remote Access creates a Cloudflare Tunnel from this node out to a public URL, letting you reach the dashboard from anywhere — no port forwarding, no DNS, no static IP. The tunnel only works while the container is running, and the URL changes on each restart (PrinterMon reports the current URL to your printermon.com account so it stays findable).
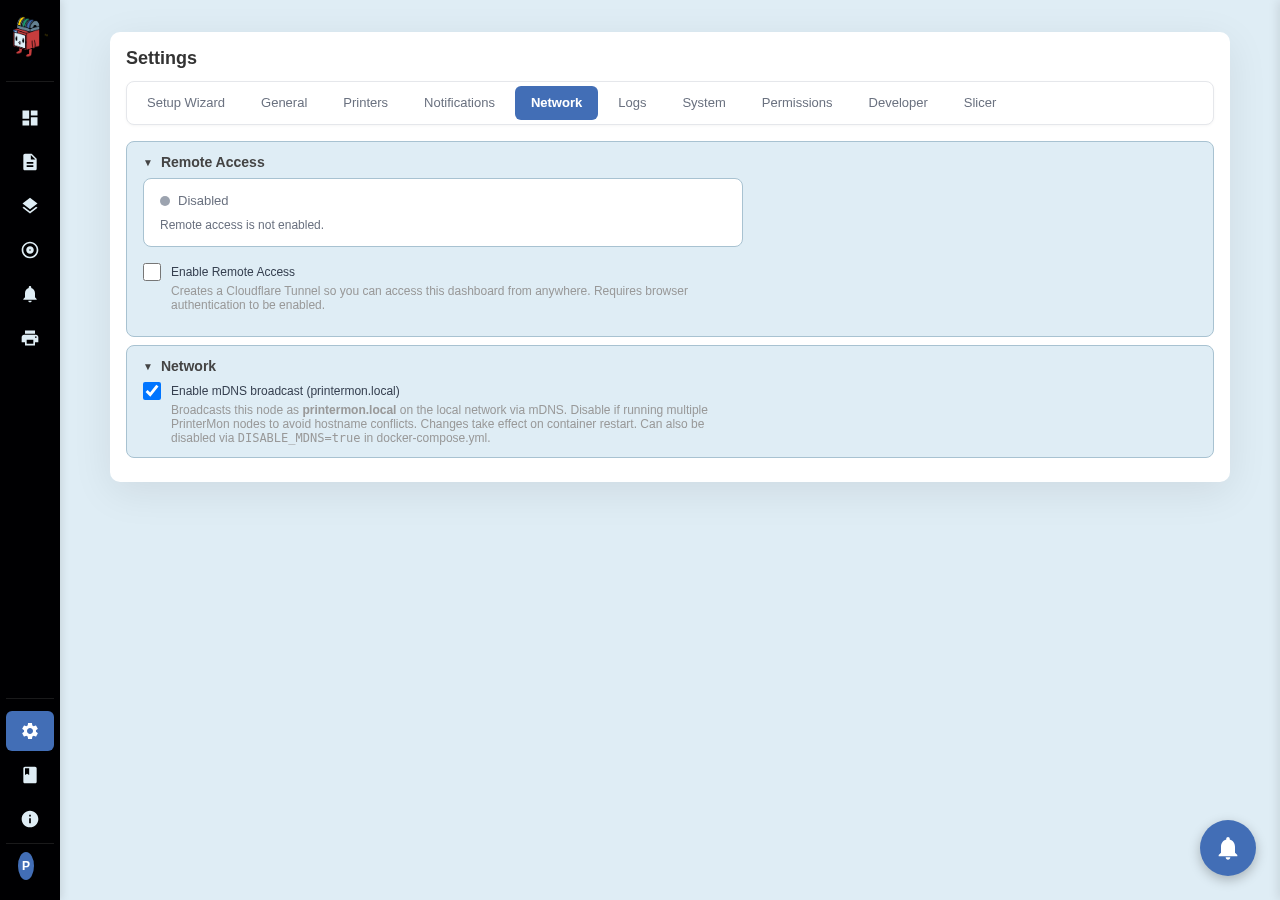
Remote Access Card
Settings > Network > Remote Access. Two halves: the Status card at the top, the Control card below it.
Requirements
- Browser authentication must be enabled (Settings > General > Account > Require Browser Login). Remote Access refuses to start otherwise. Exposing an open dashboard to the public internet would be reckless; PrinterMon enforces this.
- The node must be linked to a printermon.com account (so the tunnel URL has somewhere to be reported).
- Outbound HTTPS to cloudflare.com from the node.
Enable
Tick Enable Remote Access. PrinterMon spawns a Cloudflare Tunnel daemon, waits for the public URL, and shows it under Tunnel URL with Copy and Open buttons. The status dot turns green when the tunnel is healthy.
The URL is reported to your printermon.com account, so signed-in members can find this node remotely without you having to send the link manually.
Tunnel logs
The Tunnel Logs panel at the bottom shows live cloudflared output. If the tunnel fails to start, the cause is usually one of: outbound HTTPS blocked, browser auth toggled off mid-session, or transient cloudflare connection issues. The logs make the cause obvious.
Disable
Untick the toggle. The tunnel goes down within seconds and the public URL stops resolving.